
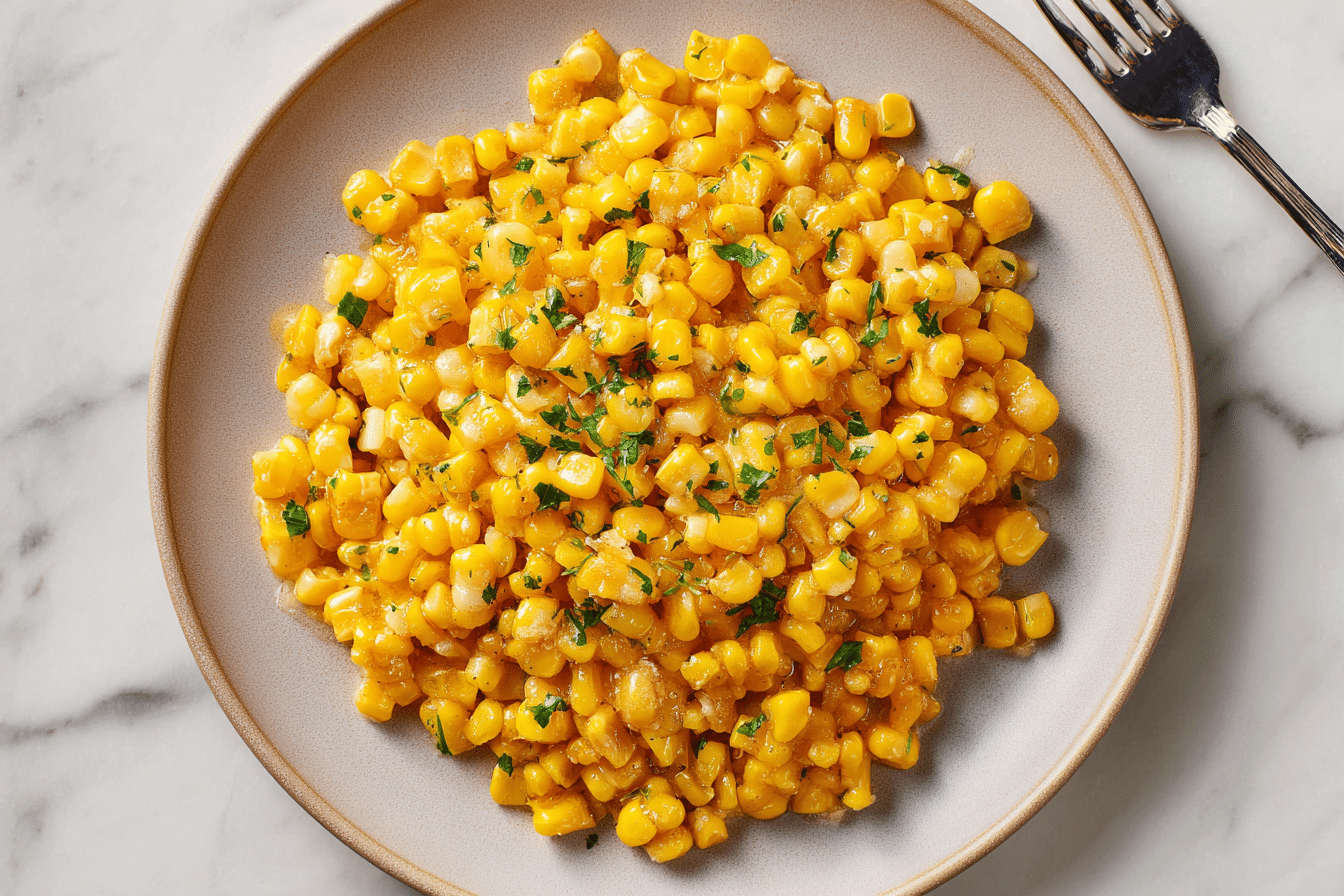
Skillet Corn with Honey Butter is a simple yet flavorful side that combines sweet, tender corn with a luscious honey-butter coating. This quick-cooking dish brings warmth and comfort to any meal, making it perfect for weeknight dinners, casual family gatherings, or holiday spreads. The corn kernels glisten with a golden sheen, each bite offering a gentle sweetness balanced by buttery richness.
Its simplicity is what makes it so appealing—minimal ingredients and a straightforward method yield a dish that looks and tastes indulgent without requiring hours in the kitchen. The combination of tender corn and lightly caramelized honey creates a side that feels both classic and comforting.
Ingredients Overview

The star of this recipe is fresh corn, which delivers natural sweetness and a satisfying texture. Kernels can be used straight from the cob or swapped with frozen corn in a pinch. Fresh corn ensures a crisp, juicy bite that elevates the dish’s flavor. Butter provides creaminess and depth, coating each kernel to enrich its taste. Unsalted butter is ideal for controlling seasoning, though salted butter can be used for convenience.
Honey adds a subtle floral sweetness and a glossy finish. As it heats, it melds with the butter to create a delicate glaze over the corn. If honey isn’t available, maple syrup or agave can serve as substitutes, keeping the dish naturally sweet. A pinch of salt and freshly ground black pepper balances the flavors, enhancing both the buttery richness and the sweetness of the corn. Optional touches like smoked paprika or chili powder can add a mild kick or smoky complexity for those looking to experiment.
Together, these ingredients create a dish that is simple yet sophisticated. Butter envelops the corn for a silky texture, honey adds a gentle sheen, and seasoning ties everything together. Using fresh, high-quality corn ensures the best flavor, resulting in a dish that is vibrant, tender, and satisfying.
Ingredients
4 cups fresh corn kernels (about 5 medium ears)
3 tablespoons unsalted butter
2 tablespoons honey
1/4 teaspoon salt
1/8 teaspoon freshly ground black pepper
Optional: 1/4 teaspoon smoked paprika or chili powder
Step-by-Step Instructions
- Heat a large skillet over medium heat for 1–2 minutes to ensure even cooking.
- Add butter and allow it to melt completely, swirling the skillet so it coats the bottom.
- Stir in the corn, making sure each kernel is covered with butter. Spread the corn evenly for uniform cooking.
- Cook for 5–7 minutes, stirring occasionally. Kernels should turn tender with a few lightly golden. Avoid overcooking to maintain firmness.
- Drizzle honey over the corn and stir gently, letting it melt and form a smooth glaze.
- Season with salt and pepper. Add smoked paprika or chili powder if using.
- Cook 2–3 more minutes, stirring regularly to prevent sticking and maintain the glaze.
- Remove from heat and serve immediately for the best texture and shine.
Avoid overcooking, which can make the corn mushy, and adding honey too early, which may burn. Medium heat ensures even cooking and glossy results.
Tips, Variations & Substitutions
Fresh herbs like parsley, cilantro, or chives can be sprinkled on top just before serving for extra color and flavor. Citrus zest such as lemon or lime brightens the dish.
For a spicy twist, try cayenne or chili flakes. For a vegan version, substitute butter with coconut oil or a plant-based alternative, and replace honey with maple syrup or agave nectar. Adjust quantities according to taste, as sweeteners may vary in intensity.
Serving Ideas & Occasions
This honey butter corn pairs well with grilled or roasted meats, barbecue, and even vegetarian meals like roasted vegetable platters or grain bowls. It’s perfect for weeknight dinners, weekend gatherings, or festive occasions. Pair it with mashed potatoes, salads, or light beverages such as iced tea or white wine to complement the buttery sweetness.
Nutritional & Health Notes
Corn provides fiber, vitamins, and antioxidants, making it a healthy addition to any meal. Butter and honey add calories and richness, but the portions are moderate, keeping the dish balanced. Using fresh corn maximizes nutrients and flavor. Salt can be adjusted for dietary needs, making this recipe both wholesome and indulgent.
FAQs
Can I use frozen corn instead of fresh?
Yes, thawed and patted-dry frozen corn works well. Fresh corn is preferred for brightness and texture, but frozen corn remains tasty.
Can I prepare this ahead of time?
It’s best served immediately to retain texture and sheen. Reheat gently with a little butter in a skillet if needed.
How do I prevent the honey from burning?
Add honey after the corn is cooked through and stir constantly over medium heat to avoid scorching.
Can I add extra spices?
Yes, smoked paprika, chili powder, or cayenne can be added for warmth. Fresh herbs provide color and flavor.
Is this dish vegan?
Yes, with substitutions: use plant-based butter and maple syrup or agave instead of honey.
How long does it take to cook?
About 7–10 minutes over medium heat. Stir occasionally until tender and lightly golden.
What’s the best way to serve it?
Serve hot immediately after cooking. It pairs well with grilled or roasted mains and looks attractive on any table.
Print
Skillet Corn with Honey Butter is a quick, sweet, and buttery side perfect for dinners or gatherings.
Ingredients
4 cups fresh corn kernels (about 5 medium ears)
3 tablespoons unsalted butter
2 tablespoons honey
1/4 teaspoon salt
1/8 teaspoon freshly ground black pepper
Optional: 1/4 teaspoon smoked paprika or chili powder
Instructions
- Heat a large skillet over medium heat.
- Melt butter until bubbly.
- Add corn, stir to coat with butter, and spread evenly.
- Cook 5–7 minutes until tender and slightly golden.
- Drizzle honey and stir gently.
- Season with salt, pepper, and optional spices.
- Cook 2–3 more minutes, stirring to maintain glaze.
- Serve immediately.